The weather in Vancouver is pretty mild most of the year, but the weather in the mountains is a completely different story. Spring hits Vancouver in March and April, but it’s often late June or even early July by the time the snow finally melts in the mountains, only to come back again in October. So the backpacking season isn’t that long. There are lots of trails you can do at lower elevations, but some of the more scenic mountain trails have a short window in which to hike them.
For this reason, me and my friend Carolyn got it into our heads that we wanted to try snow camping to get in some more backpacking trips in the off season. I only started backcountry camping in the summer of 2016, so it was definitely a bit of stretch for me to take up snow camping so quickly, but we did a bit of research and built up some of our gear and decided to give it a try last winter.
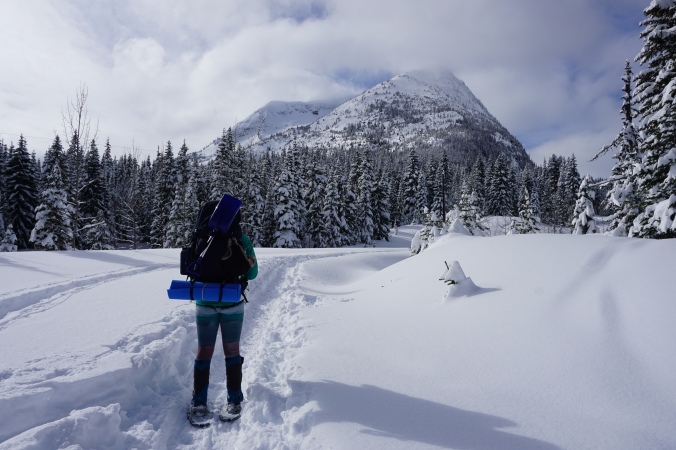
Camping gear is expensive, so we tried to be as thrifty as possible in acquiring winter gear. We both bought Teton synthetic sleeping bags on Amazon that are rated to -15 degrees celsius. I wouldn’t normally recommend Amazon for camping gear, but good winter sleeping bags cost hundreds of dollars and as newbies, we weren’t ready to sink that kind of cash into a sleeping bag. But the Teton bags are actually really compact and come at a great price, so neither of us have regrets about this purchase. We’re both cold sleepers, so for a bit of extra warmth, we also purchased the Sea to Summit Reactor Extreme bag liner, which claims to add another 14 degrees celsius to your bag rating. I don’t believe it actually adds that much, but it certainly warmed up our bags. Finally, we each bought cheap “closed cell” foamy sleeping pads to put under the 3-season pads we already owned. A sleeping pad with a R-value higher than 5 is recommended for winter camping, but these pads run in the neighborhood of $200-300, so doubling up our sleeping pads with a $20 foamy worked better for us.
These were the main items we bought to prepare for the trip. Fortunately I had an old 4-season tent that had been handed down to me from my parents, so we decided to use that, despite the fact that it’s old and weighs 10 pounds. I doubt many people have that option available to them, but I wouldn’t recommend it. The tent is from the 80’s and it didn’t really work for snow camping, but hey, live and learn, we still survived. The only other items that really differed from our normal gear is that we brought a small shovel with us, a thermos, and some extra layers of clothing.
For our first adventure, we decided to try Manning Park. Manning is one of my favourite parks near Vancouver and they have a snow camping site located just off the main road. We thought this was the safest plan because then we wouldn’t be too far from our car if we got really cold in the middle of the night. Unfortunately, nothing about our trip went according to plan and we ended up having to do a fair bit of improvising, but we still ended up having a really good time.
One thing you should know (or probably already know) about me is that I’m a big talker. Throw me and Carolyn together in a car and we’ll have a great time, chatting and laughing the whole trip. I’m usually a pretty decent navigator (and I maintain that I do have a good sense of direction, mostly because I love maps), but put me in a car with Carolyn and I will forget everything I know about navigating because I always get caught up talking and telling stories. We’re pretty good at getting lost because I tend to think as the driver Carolyn know’s what she’s doing and she tends to think as the passenger (and more often then not, trip planner), I’ll tell her what to do. So we tend to get lost a lot.
On this particular trip we got re-routed because an accident closed one of the highways, so we were a bit out of sorts (read, hungry) and when we left Hope, I thought it was just a straight shot to Manning and settled in for the 45 minute drive. 40 minutes later, just when I think we should be hitting the Manning Park lodge, I see this tunnel ahead that I know is actually on the Coquihalla highway (not the Manning highway) and realize the depth of my mistake. Hearing one “uh-oh” from me was all Carolyn needed to hear to know we’d made a mistake along the way (I will take full credit for it in this instance). We were pretty hangry from being re-routed once already and not into the idea of driving another hour and half in the opposite direction, so Carolyn quickly pulled us over and started making lunch, telling me I had until we finished eating to come up with a plan B.
Fortunately, we had landed ourselves in the Coquihalla Summit Rec Area, an area I hadn’t previously explored, and I had just enough cell coverage to check the avalanche risks for the area and work out a quick back-up plan. Instead of going back to Manning, we decided to commit to snowshoeing about 1.5km to camp at the trailhead to Falls Lake. The 1.5km is actually a forestry road that’s just not plowed in the winter and the “trailhead” is really just a parking lot, but hey, we’re adaptable. Plus, at the end of the trip, we both agreed that missing Manning was one of the best mistakes we could have made, because we ended up having a great time at Falls Lake and it forced us to camp further away from the car and to really commit to snow camping.
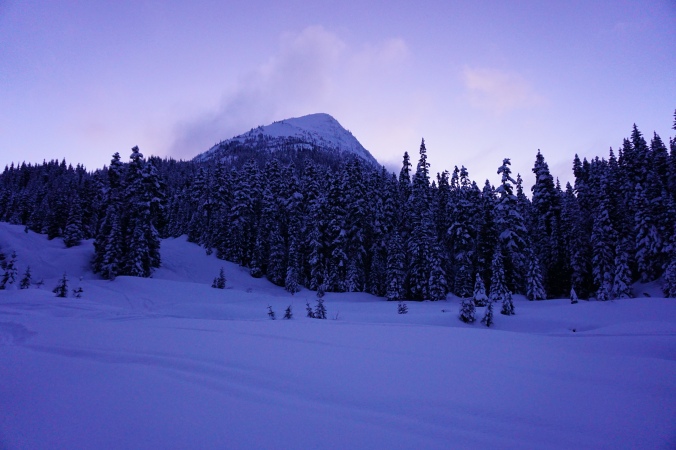
There wasn’t too many people around because we were about 2.5 hours away from Vancouver, but Falls Lake seems to be a popular hangout for snowshoers who want to check out the lake and backcountry skiers who want to hike up towards Zoa Peak and ski down. We did neither of these things, but we did have a nice flat area (parking lot) to try out our snow camping skills! Plus, we were the only people who stayed overnight.
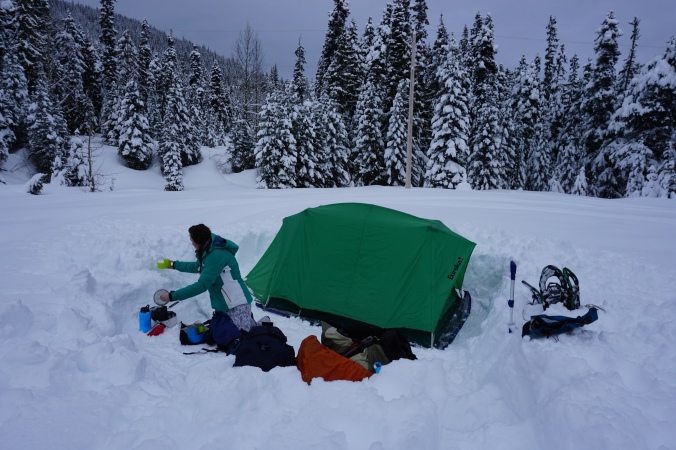
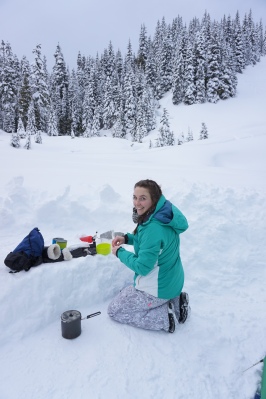
We ended up having a blast! It was about -10 degrees celsius overnight, so it was pretty cold, but we worked up a nice sweat hiking in and then spent a fair bit of time digging down in the snow to set up our shelter, so the cold never really kicked in until later in the evening when we didn’t have anything to do anymore. We dug down about a metre and then stamped the snow as flat as we could with our snowshoes. We set up the tent and our bags just like any other trip and then started building ourselves a little snow kitchen. This mostly consisted of a kind of counter area where we could sit and put our stove.
After we finished setting up, we threw on some more layers to stay warm. I think one of the biggest things about snow camping is to avoid sweating in multiple layers of clothes, but to layer up as soon as you start moving to trap your body heat from exercising and to prevent yourself from ever getting cold. We didn’t find cooking in the winter to be any different than summer, we just made sure to use Carolyn’s white gas stove instead of my propane one because propane is prone to freezing in cold temperatures.
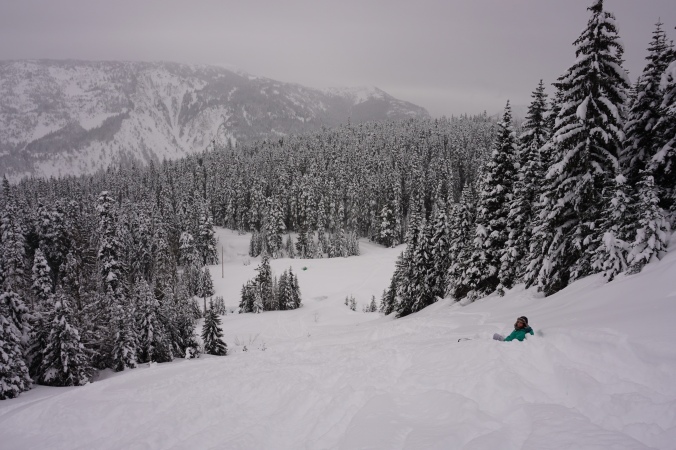
One of the biggest challenges actually proved to be melting snow for drinking water and cooking. As you can imagine, it takes a while to melt snow and a full pot of snow doesn’t translate into very much water. We kept filling up the pot and boiling a tiny amount of water, just to have to add more snow to do the whole thing again. One tip that we learned is that it’s best if you add a bit of your drinking water as a base and then add snow slowly as it starts to heat up. Don’t bother boiling the water until the end, just keep it hot enough so that any snow you add melts and then wait for it to heat up again before adding more.
Our second lesson learned was that you need to give yourself lots of time to set up camp, ideally about 3 hours. Fortunately we did have enough time, but digging a hole (with a single small shovel) takes a long time and so does melting snow, so give yourself enough time to set up camp because doing all those things in the dark wouldn’t be fun. The hardest part about snow camping was that it gets dark so early in the winter and there’s really nothing to do once it gets dark and you’ve finished eating supper. We’d been planning to maybe play cards in the tent, but it’s too cold once you stop moving that all you really want to do is climb into your sleeping bags. So prepare for an early night. I read to Carolyn on my kindle for a bit, but I think an audiobook might work well in the future.
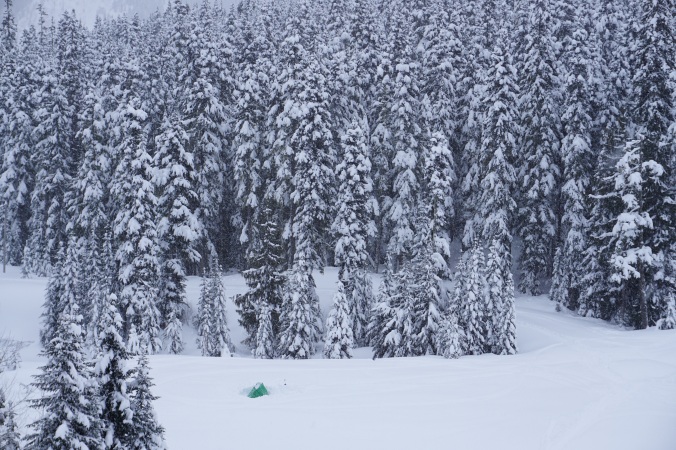
Keeping warm at night is really the most important and challenging part about snow camping. We survived the night, but we definitely learned some trips to keep in mind for our next trip. I thought my sleeping bag and liner together would be enough to keep me warm, but you definitely need to wear the right clothes to bed. We initially didn’t wear enough layers and we were quite cold when we got into our bags. After about an hour, we got up again to put some additional layers on and that definitely helped. You want to have enough clothes on to keep you warm, but not too tight or too many layers that don’t allow you to trap some heat in your bag. It’s also important to stay away from the edges of your tent because your body heat will cause condensation on the inside of the tent that will then freeze and be really cold if it’s touching you. We’re both side sleepers, so our butts were getting cold from touching the side of the tent. It’s also better to sleep on your back because you get more warmth reflected back at you from your sleeping pad (easier said then done though if you never sleep on your back).
But we made it through the night! We had some lessons learned, but the tough bits weren’t enough to deter us from trying it again. We witnessed a beautiful purple sunset over the mountains and did a little hike in the morning up a nearby hill to get the cutest photos of our little tent down below. It’s not the easiest experience, but I had a lot fun trying something new with Carolyn and it makes you feel like a real bad-ass to sleep outside in the winter! We never did make it to Manning for snow camping and this was the only snow camping trip we tried in 2018, but stay tuned because we recently went on our second snow camping trip, which I’m working on a follow-up post for!
Pingback: Elfin Lakes Snow Camping Trip | The Road Goes Ever On
Pingback: Brew Lake Backpacking Trip | The Road Goes Ever On
Pingback: Zoa Peak Snow Camping | The Road Goes Ever On