Copeland Islands Kayak Trip Part I

I finally crossed off a major bucket list item! Seth and I have been dying to visit Desolation Sound Marine Park since we got our kayaks and have had to cancel the trip 3 times in the last 2 years. I feel like this has been a common theme with a lot of my planned trips since the pandemic, but we finally made it happen over the May Long weekend this year!

20230519_140012

For those who aren’t familiar, Desolation Sound is a marine park north of Powell River on the Sunshine Coast. It’s located at the tip of the Malaspina Peninsula, which is where the northern trailhead is for the Sunshine Coast Trail. So it was a familiar location for me after making 2 trips to Powell River last summer to complete the SCT.

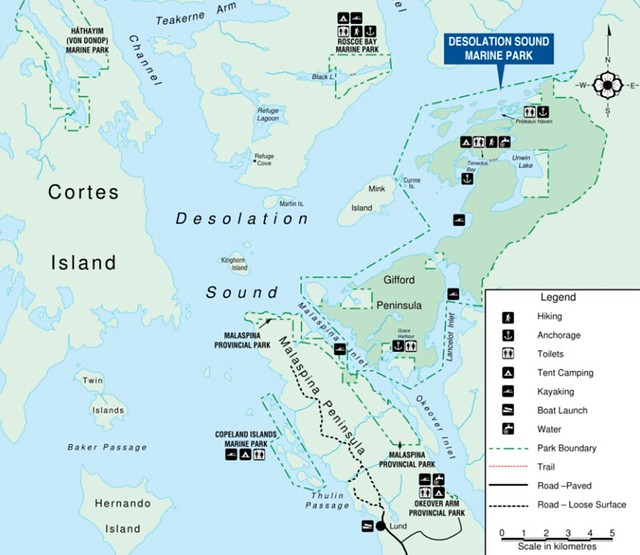
Originally we were focused on visiting Desolation Sound, but as I did some more research, I discovered it’s really easy to tag a second marine park onto the trip and we added Copeland Islands Marine Park to our itinerary as well. Here’s a map of the area:

Desolation Sound

Doing both parks in one visit requires a bit more coordination, but it ended up being easier than I anticipated. Getting to Powell River is always a bit of a pain, but we caught the ferry out of Horseshoe Bay on Thursday evening before the long weekend, following by immediately driving up to Earls Cove to catch the second ferry to Saltery Bay. There’s a provincial campground at Saltery Bay and we stopped to sleep there for the night. We didn’t book in advance since it was still Thursday and we were able to just drive in, but I always recommend getting reservations where possible on the weekends.

20230519_121707

It’s a nice little campground at Mermaid Cove, but we didn’t stay for long and headed straight for Powell River instead. After a quick restock at Canadian Tire for some items we forgot, we drove north to Lund (~30 min drive). Lund is a tiny little community that is easily accessible in any type of vehicle, though once you go north from Lund, you should really have high clearance 4WD. We unloaded our kayaks in Lund and then I called Powell River Taxi for a transfer from Okeover Arm back to Lund. I was expecting to have to wait a while for a car to come up to Lund, but there happened to be a driver nearby, so I rushed the car over to Okeover Arm to park it for our return.

Okeover Arm is on the other side of the Malaspina Peninsula and less than a 10 minute drive from Lund. It’s also a paved road and easily accessible. There’s a public wharf with parking registration if you’re using the wharf (either with a power boat or self-propelled). If you drive a little further past the public wharf, you’ll arrive at Powell River Kayaks and you can rent kayaks from there.

20230519_130817

I didn’t have any trouble finding the parking lot at Okeover, but figuring out how to pay for parking was super confusing. Start by driving down to the dock and at the end of the wharf there is a little shed with parking registration, you take a ticket, leave your money in the envelope, and put it in the drop box. It’s not really that complicated, but I had to tear my car apart looking for a pen to fill out the parking slip, so make sure you bring a pen with you! Parking is only $5 a day, so it’s a very good deal! As for camping permits, they’re also $5 a night, per person, which you can get online, but they don’t start charging until June 1 (in 2023 at least).

But lets get to the fun part, kayaking!

20230519_181723

I returned to Lund around noon and Seth had the kayaks mostly packed. It’s a bit confusing where to launch from because kayaks aren’t allowed on the boat ramp, but there’s a small beach behind the grocery store and we launched from there. Tide was very low, so it was a bit tricky, but there was very little wind, which was lovely!

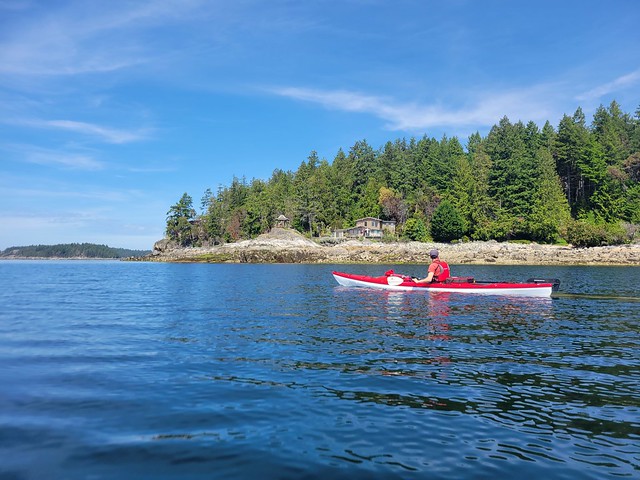
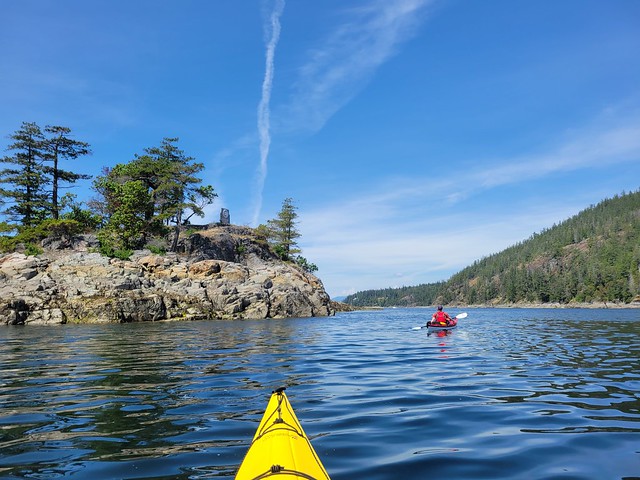
What I liked about this trip was that, once you launched, you were pretty much immediately in the wilderness. We saw a black oystercatcher within 5 minutes of paddling (special to us because Seth did his M.Sc thesis on them) and more exciting, we saw our first sea lion within 30 minutes of paddling!! We’ve never seen a sea lion from our kayaks before, so it was exciting and a little intimidating. They’re a lot bigger than seals, but fortunately this guy kept his distance. We can’t be sure, but Seth thinks it was a Steller Sea Lion. We ended up seeing 3 in total over the course of the weekend, though we heard them from some of our campsites as well.

20230519_182118

In general, my understanding is that the Copeland Islands are more susceptible to adverse weather conditions than the route that goes through Okeover Inlet because it’s not sheltered and can get a lot windier. Our experience with wind was that it’s definitely calmer in Okeover Inlet, but that Okeover can get some pretty strong currents depending which way the tide is flowing up the inlet. Timing is really important, so give special consideration to the tides and wind when selecting your route. If windy, I’d stick with Okeover, but leave when the tide is going out.

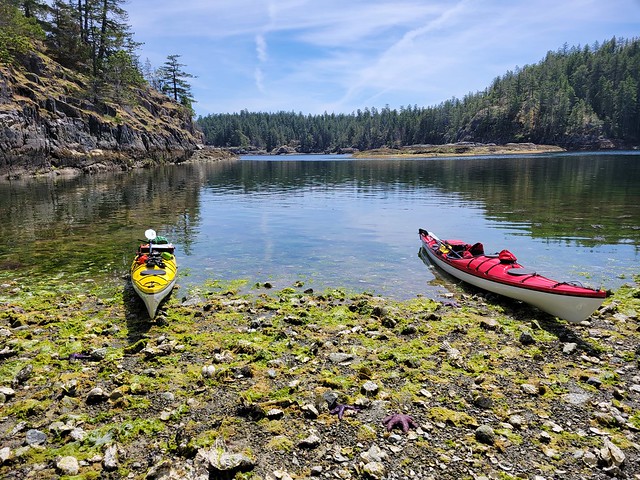
Fortunately there was very little wind along the Copeland Islands when we visited, so we had a really nice paddle through the marine park. We followed the coast until we hit the islands and then immediately crossed over to paddle along the islands. Our experience with the marine parks was that it’s really important to pay attention to the tides. At high tide, there’s not a lot of beaches to land on and some of the campsites can even be tricky to get to; but at low tide, there are a lot more beaches and potential places to explore. The difference between low and high tide on our trip was 4.5m! So the difference can be quite extreme.

20230519_161319

Because the tide was very low when we started paddling, we took a break pretty early after arriving at the islands to eat our lunch on one of the beaches. The beach was absolutely covered in oysters! You are allowed to harvest them with a fishing license, which would have been amazing, but there was a red tide warning in effect, which makes it very dangerous to eat any shellfish, so we just enjoyed with our eyes.

Low tide exposes a lot more islands and we had fun paddling up to the campsites. We were moving pretty slow on Day 1 because of all the provisions we had packed into our kayaks. There wouldn’t be any freshwater sources on our entire 4 day trip, so we had about 35L of water (or 70 pounds) between our two kayaks, plus food and camping equipment! So I definitely felt sluggish on the first day, but it encouraged us to drink a lot of water. It was very hot (high 20’s), so this was probably a good thing!

20230519_163821

The first campsite is Middle Copeland Island. This campground is pretty exposed and while it has several tent pads, there’s not a lot of shade. I’d read online that North Copeland Island was nicer, so that was our final destination for Day 1. I don’t think anyone camped at the Middle Island that night, but there were several groups at the North Island. Fortunately there’s a lot of tent pads, so it didn’t feel crowded at all.

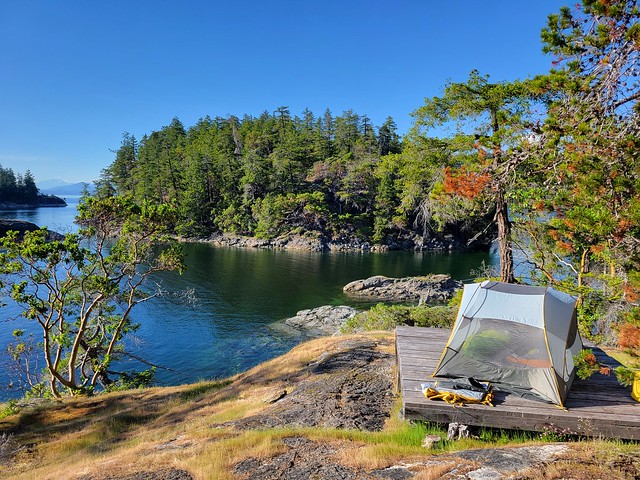
We saw some kayaks landing at the south beach on the Island as we approached. There’s two access points, so we decided to go around to the north beach to land our kayaks. Unfortunately we didn’t realize that with the low tide, the cluster of islands around North Copeland all become one big island, so we had to paddle around all of them and weave our way into the beach. There’s 3 main sections to the island, with a cluster of tent pads on the south, a few on the north, and then a bunch more on the west head. I wanted to camp at the head, but after we landed, we couldn’t find any way to get over there and ended up camping on the north side. It was a great choice as we had more shade and an incredible view! Plus all the other kayaks camped on the south side, so we had it all to ourselves. A motorboat landed on the head later in the evening and dropped off a few families, so I think that’s the only real way to access that area unless you land your kayak on the rocks.

20230519_202255

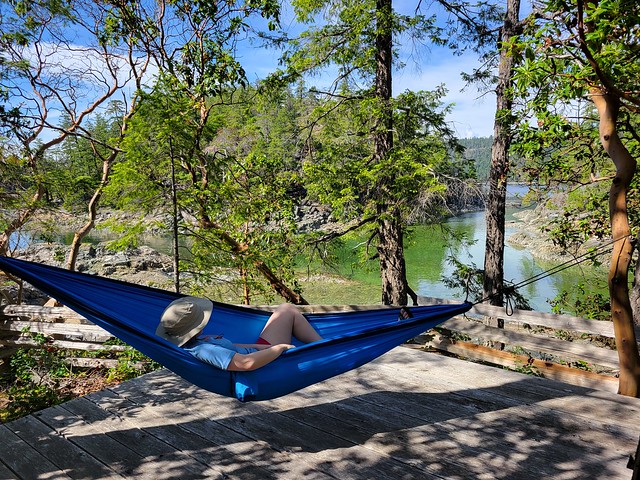
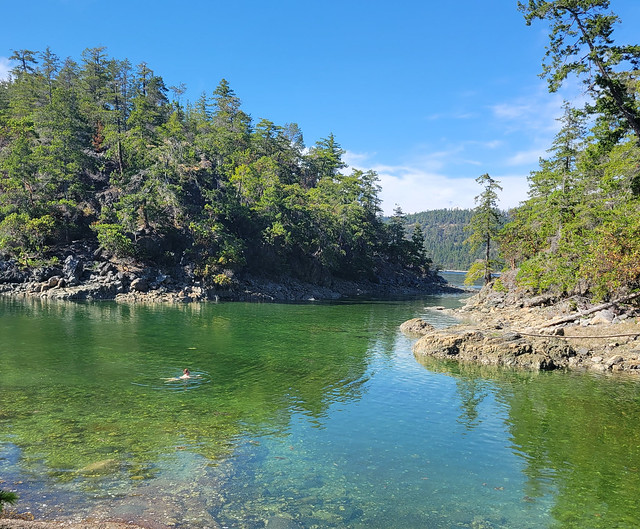
Unloading at low tide was a bit of a pain in the ass though. The beach was huge, so it took us a few trips to move all our gear up to the island and then we found one small grassy landing to store our kayaks. But overall, I loved North Copeland Island! I think it may be my favourite site on the trip. We arrived around 2:30pm after ~10km of paddling, so we had lots of time to enjoy and explore the island. I set up my hammock and watched as the tide started to come in. Once it got high enough, I decided to go for a swim and was shocked by how warm the water was! It was still only May, but after 2 weeks of consistently hot weather, it was incredibly warm and very comfortable for swimming. It honestly felt like it was mid-summer! Since visiting, I did a bit more research and apparently Desolation Sound gets some of the warmest water north of Mexico! Not sure if I believe that or not, but the evidence pointed to yes.

PSX_20230525_214202

I’m honestly not sure how we passed so much time on this trip. I didn’t really do anything on the island besides swim and lounge around. I didn’t read at all, but I was totally content to just sit in my chair or lie in my hammock and watch nature. It’s weirdly compelling to slowly watch the tide come up and we had a friendly seal hanging around all day. Seth did some exploring on the beach and we generally just took it easy, which was lovely.

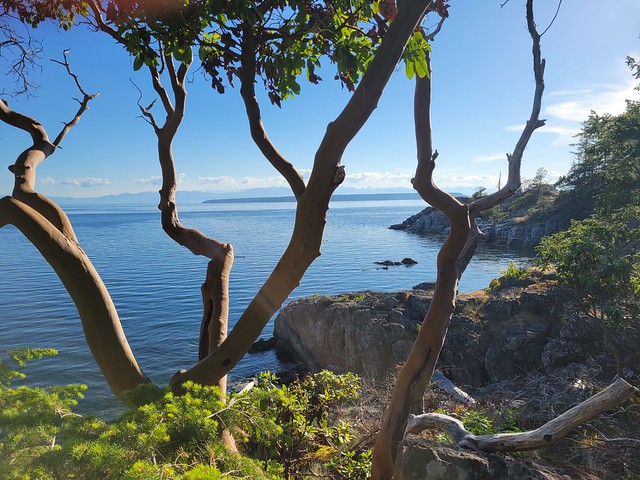
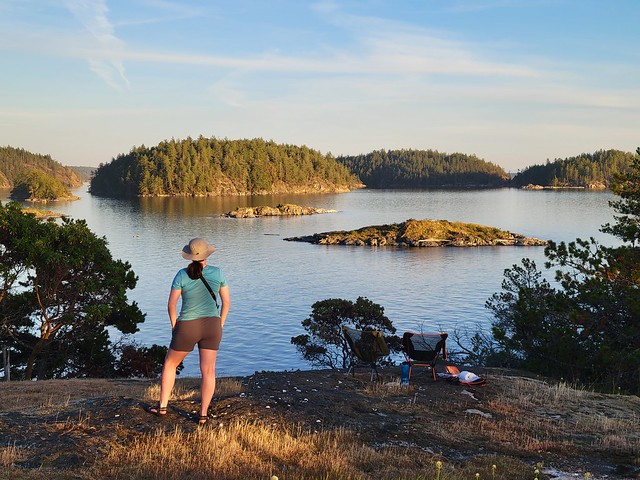
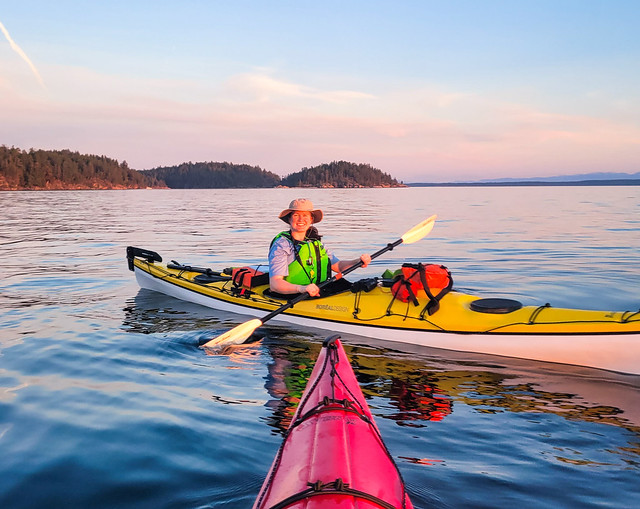
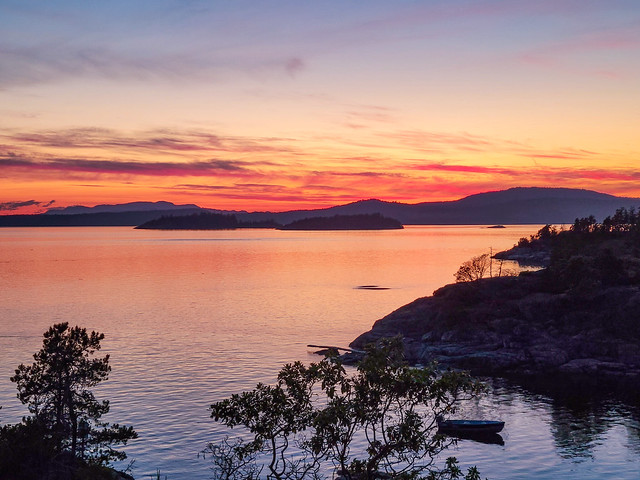
The island itself is pretty interesting. It’s a decent size, but a lot of it isn’t really accessible to explore. From our tent pad, we could climb up to the top of the island and we spent most of golden hour up there enjoying the view. Before sunset, we decided we would go for a sunset paddle and since the tide was now so high, we were able to easily launch the kayaks. It was the nicest sunset of the trip and the water was dead calm, so we enjoyed paddling around for a half hour before heading to bed. It stayed warm into the evening and because we were so low in elevation, we slept with the fly off the tent to enjoy the view and the stars. The wind picked up a bit overnight, but it was a great first day of the trip! Check back for Part II.
PSX_20230529_083038

ECT Series: Long Shore Path

Long Shore Path is an interesting section to write about. There’s currently 3 trails on the northwest side of the Avalon peninsula between Topsail and St. Francis: Long Shore, Piccos Ridge, and White Horse. All 3 trails have been around for a while, but only officially opened in the Spring of 2022. I’ve already done Piccos Ridge, and White Horse has a reputation as a challenging trail, so I decided to tackle Long Shore Path while I was home in June.

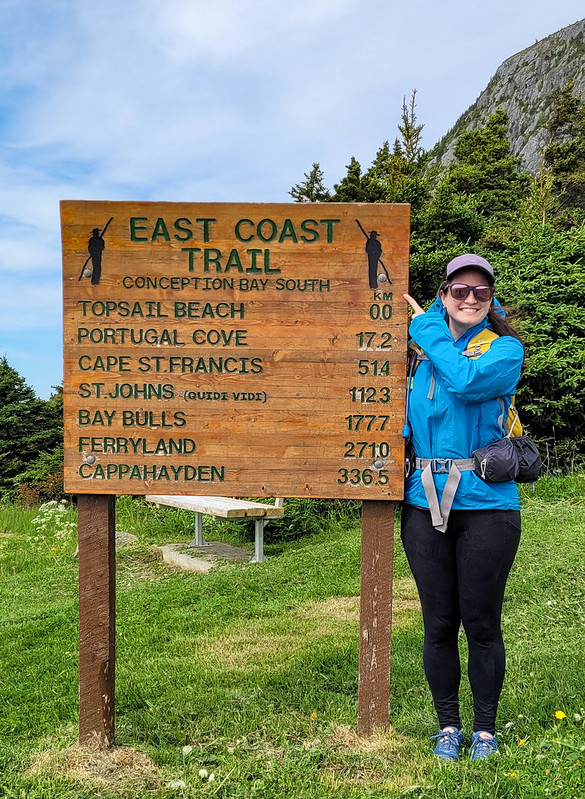
It’s an interesting section of trail because it’s technically the start of the East Coast Trail. The trail is always changing and evolving, so it may not stay this way forever, but it currently runs north from Long Shore Trail to Cape St. Francis at the far north peak of the peninsula, where it then turns south all the way to Cappahayden.

PSX_20220622_081000

The reason I say that Long Shore is interesting is because it’s marked as a 17km long section of trail, but there’s ~4km of road walking in the middle of it. Typically sections of road this long aren’t included in the trail sections (though I believe they are included in the overall length of the ECT, as you would have to walk all the road sections if you did it as a true thru-hike). I find it a bit odd that they decided to include so much road walking in Long Shore Path instead of just breaking it into 2 sections. I didn’t want to do 4km of walking along the road, so I opted to do the trail in 2 sections over 2 days. So I guess I technically haven’t done the entire thing, but I’m going to count it as close enough.

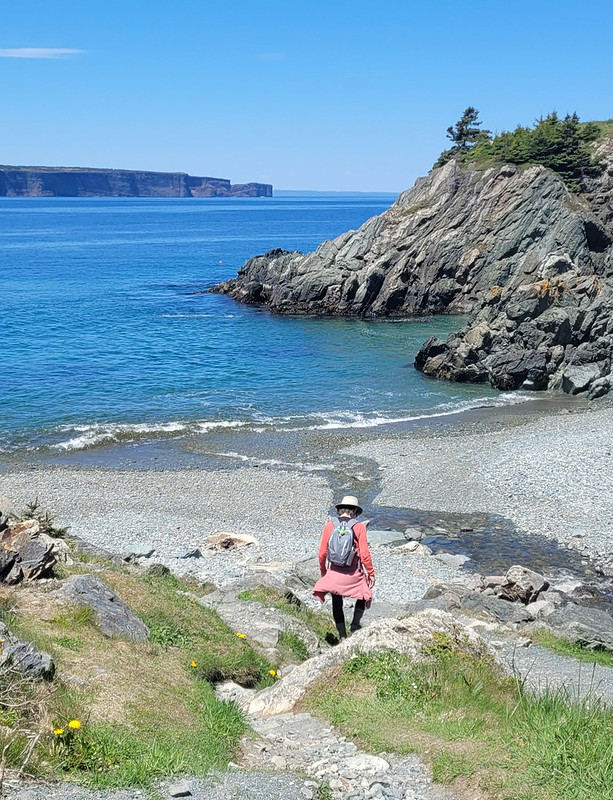
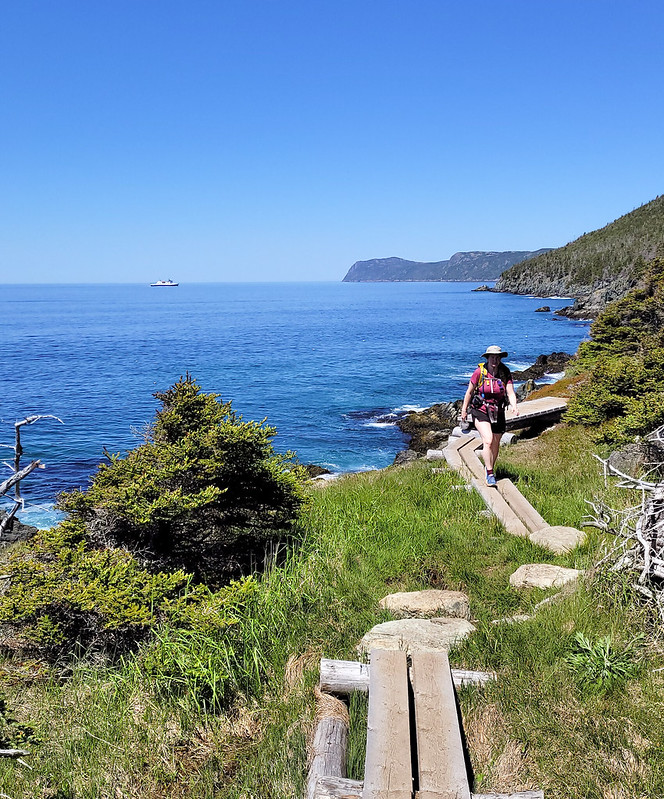
I did the first section in late afternoon with Emily after she got off work one day. We drove out to Topsail Beach and hiked the first 4km of coastline to St. Thomas and back for a total of 8km. The trail starts right at the beach in Topsail Rotary Park and is primarily through the woods the entire way. Generally I don’t love long wooded sections, but I didn’t mind this part because it’s pretty sparse forest and you can still see the coast through the trees. The trail is a little bit technical, with tree roots and rocks, and undulates up and down.

PSX_20220623_223021

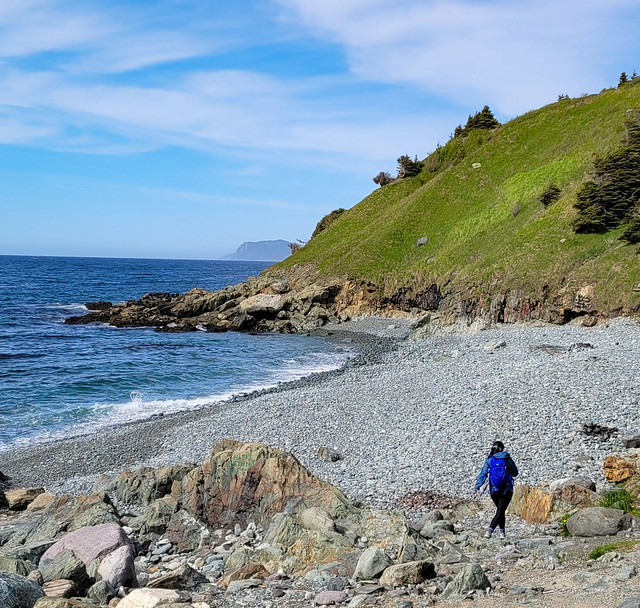
When you get to the end of the trail, you can take a left to walk down Lorry Road to the beach at St. Thomas. It’s a quiet and lovely beach that I’d never been to before and it makes for a nice end destination. It was overcast when we started the hike, but we sat on the beach for a while as the sun started to break up the clouds. It took us about an hour to hike the 4km and we had a few snacks before turning around to hike back. The sun properly came out on our return, which really brightened up the trail.

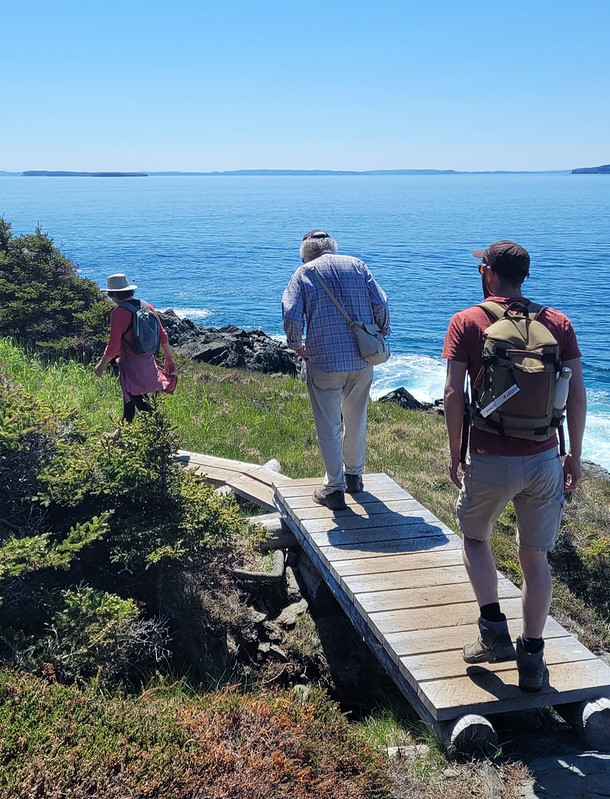
The following day I returned with Seth and his parents to hike the rest of the trail. After St. Thomas is the 4km of road walking to St. Philips Beach, followed by another 9km of hiking to Portugal Cove. We parked one car in St. Philips and then started from the trailhead in Portugal Cove to hike backwards. The first part of the trail out of Portugal Cove is another odd section because it doesn’t actually follow the coastline at all. Instead, you hike up behind Portugal Cove to a series of lookouts along the bluffs. It doesn’t feel very East-Coast-Trail-like, but it’s beautiful nonetheless.

20220616_110637

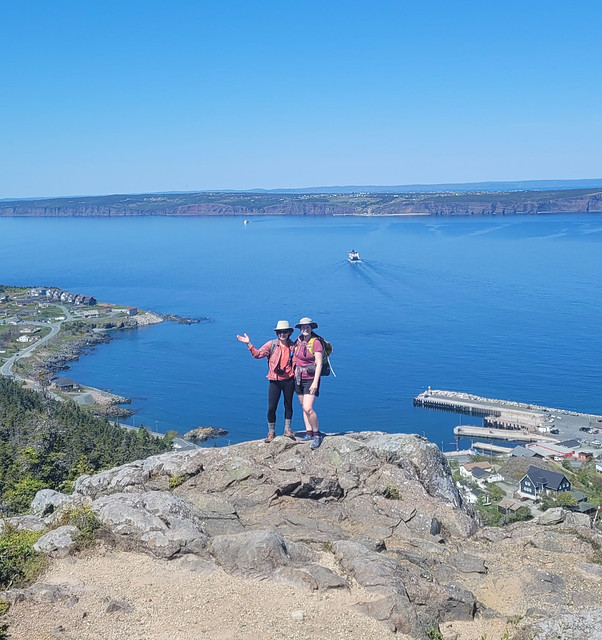
It’s about 225m of elevation gain to the top – we didn’t find it too challenging, but if you don’t like climbing you may want to take your time. There are some excellent views of Bell Island from the top as you hike along the bare rock before descending to Beachy Cove. The descent isn’t very nice as you go through a huge section of blowdown, with tons of knocked over and destroyed trees. It’s not hard to follow the trail as the debris has been cleared, it’s just not very scenic. Once you reach the bottom, you hike out along an ATV road and then swing left on the road for a few hundred metres before turning right to go down to Beachy Cove.

20220616_125433

Beachy Cove is easily accessible from the road, but it’s another beach I’d never been to that is really lovely. There’s a big waterfall flowing down to the ocean and the river can be a bit challenging to cross when the flow is heavy, but if you’re able, there’s a picnic table on the other side where we stopped for lunch. To get to Beachy Cove was ~6km, then there’s another  ~3km along the coast to get back to St. Philips. This section is very similar to the 4km between Topsail and St. Thomas in that it’s mostly in the trees and undulates up and down (though I’d say it’s more challenging than the Topsail section).

The only tricky part of this trail is when you reach Goat Cove. There’s a creek flowing down to a small pocket beach, so you have to descend down a sketchy rope section to the beach. From what I’ve heard, there used to be ropes on both sides of the beach, but there are stairs on one side now, so I wouldn’t be surprised if a second set of stairs is added in the near future, which would make this trail much more accessible. As it is now, it is a particularly long rope section that is manageable, but not easy. I’d recommend bringing gloves for the rope and taking your time.

PSX_20220627_221816

We didn’t have quite enough water for the entire hike, but fortunately I’d brought my water filter, so we filled up with fresh cold water before continuing on. The rest of the trail isn’t particularly difficult and we enjoyed the glimpses of sun through the trees while still enjoying the shade.

So it’s a bit of a complicated trail with so many sections. I’d definitely recommend doing it in 2 sections to skip the road walk, but if you wanted, you could even do it in 3 sections as return hikes, which is what Emily ended up doing. I didn’t expect to like it as much as I did with so many forest sections, but it’s actually quite scenic (especially the views from the hill in Portugal Cove) and I loved hiking to all the little beaches along the way. Whether done as 1 long trail or several sections, it makes for a really nice hike.

20220616_143757

Ski Resort Series: Sunshine Village

I’m excited to finally have some more ski resorts to write about! Last week I posted a Banff Winter Guide about my trip in early March; I had a lot of fun exploring different restaurants and shops, but of course the skiing was one of the real highlights of the trip and the main reason I went.

I’ve done a lot of skiing in BC’s interior, but this was my first time skiing in the Rockies. There are lots of different resorts to visit, but the resorts near Banff are definitely some of the most accessible. We flew into Calgary and decided to ski the “Big 3”. It was tempting to explore further and check out Kicking Horse, but the highway from Calgary to Lake Louise is really well maintained and we didn’t have the proper winter tires to go all the way to Golden.

20220228_130720

But no problem because the ski resorts accessible from Banff are all top notch! The locals seem to all have their favourite mountain and I’ve heard arguments for why each resort is the best. The main arguments I heard for Sunshine Village is that it’s the highest, so it gets the most powder; it’s closer if you’re doing a day trip from Calgary; and on a sunny day it has some of the most epic views, including a vista all the way to Mount Assiniboine!

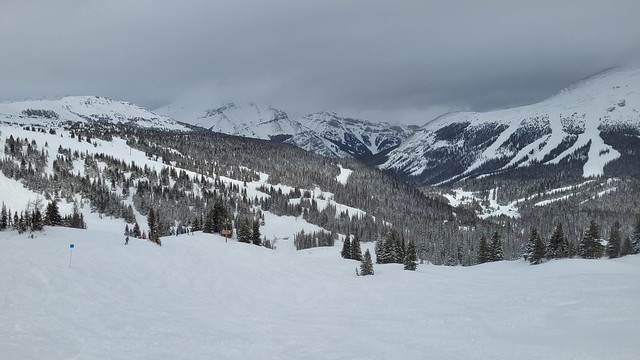
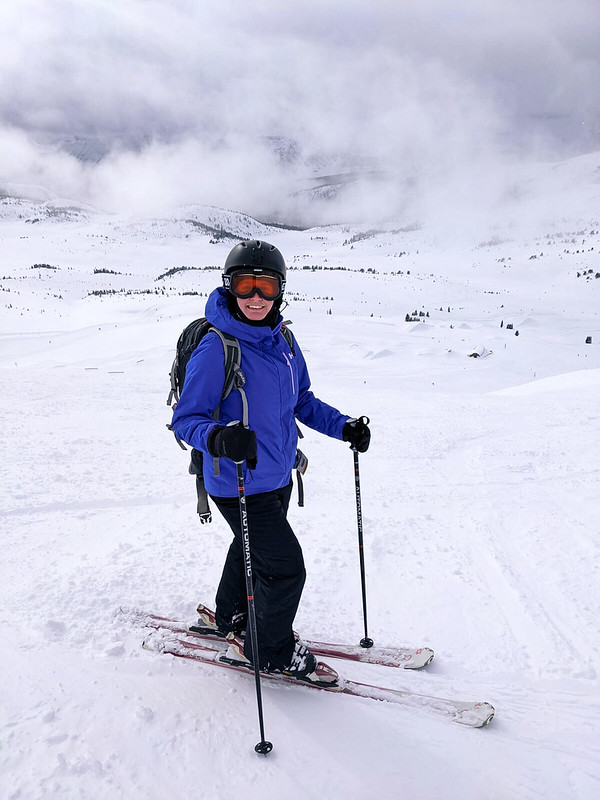
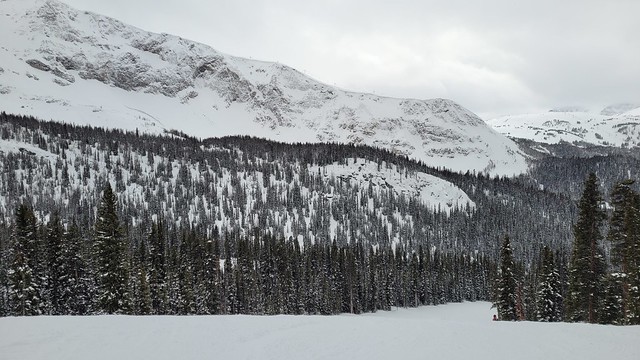
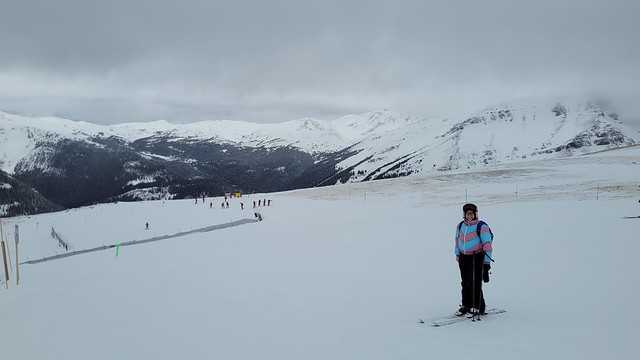
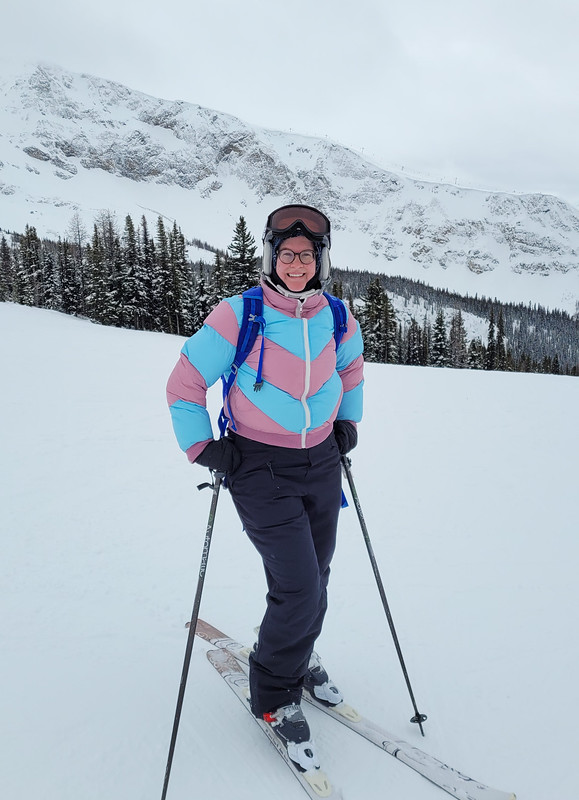
Unfortunately it wasn’t sunny on the day we visited, but there was about 10cm of fresh powder from the previous night, so all in all, we couldn’t complain. I had the opportunity to visit Sunshine Village in the summer in 2021 when I hiked from Mount Assiniboine, so I had already been treated to the amazing views. We couldn’t see all the way to Assiniboine on this trip, but what we could see was still phenomenal. The snow completely transforms the landscape and even though I’d been there before, it was unrecognizable to me in the winter.

PSX_20220302_175323

It’s about a 20 minute drive from Banff and there’s a huge parking lot. If you don’t feel like driving or don’t have access to a car, there is a free shuttle that runs from Banff. Having passed this shuttle on our way to the mountain, I would recommend getting up early for it and trying to board earlier in the route from one of the hotels rather than from the main bus stop. There was a massive line for the shuttle at the main bus stop, even on week days.

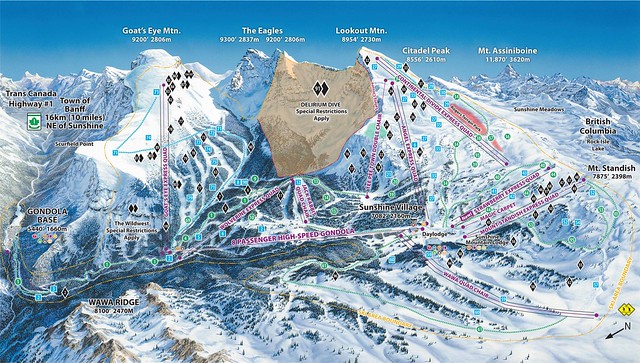
How Sunshine Village differs from the other resorts is that you take a gondola up to the base from the parking lot. For this reason, the ski resort is at a higher elevation, which is why some people claim it gets the best snow of the 3 resorts. I’m not sure if it’s actually the biggest resort, but it felt the largest to me. There are a ton of lifts going up to all the surrounding mountain peaks and we tried to explore as many areas as possible. There were some clouds hanging around the tops of the peaks in the morning, so we moved around based on where the best visibility was.

PSX_20220302_174944

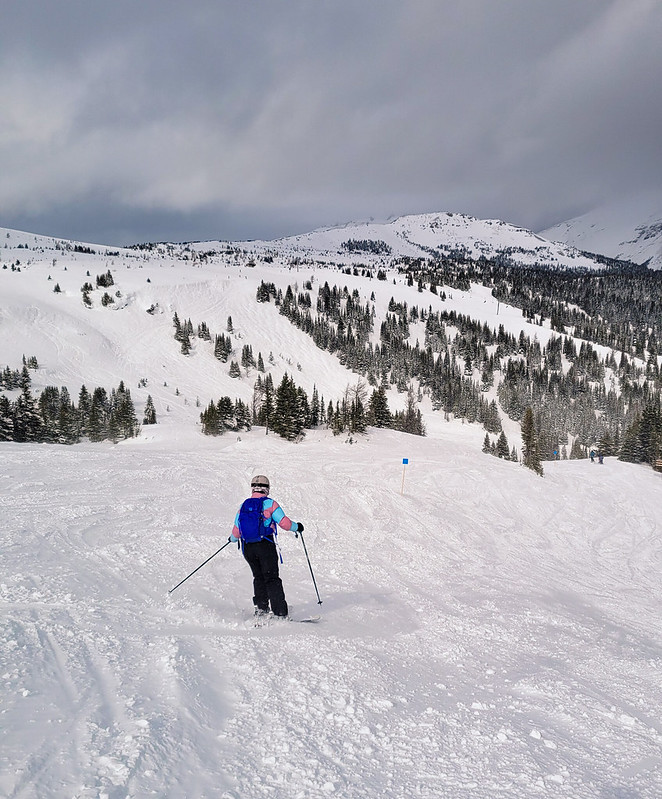
We started on the Angel Express chair, which we had mixed feelings about. The skiing was great, especially in the morning when there was still fresh powder to sail through, but there were also a lot of beginners on this chair and it made us feel a little weary because a lot of them didn’t really seem to know what they’re doing. My general impression of Banff was that it attracts both beginners and experienced skiers. Skiing the Rockies was quite unlike skiing in BC for me because there is a lot more alpine in the Rockies with wide open areas and some pretty advanced skiing in some places. I’m also not exaggerating when I say we saw about 20-25 people hobbling around Banff on crutches throughout the week, so I do think some people get into trouble.

We quickly switched over to the Continental Divide chair, which was great later in the day when the clouds moved off, but it’s also one of the highest points on the mountain, so the visibility wasn’t great in the morning and it was pretty icy at the very top. Eventually we landed on the Teepee Town chair, which is Canada’s only heated chair lift – we skied a few nice runs in that area before heading off to explore another part of the mountain.

20220228_145410

We finished off the morning on the Wawa Chair, which is a shorter chair in pretty easy terrain, but we ended up really liking this area. Emily was still getting her ski legs and preferred the shorter runs to have breaks in between. In general, I had a great time in all areas. I like skiing around the trees and I liked that Sunshine had a lot of trees without having to go down dense glade runs. I spent a lot of the morning messing around in the powder and trying to find small jumps in and around the trees.

The lodge at Sunshine Village is a bit annoying though. They don’t let you bring your backpacks inside the lodge, which I think is ridiculous, and you instead have to leave them outside on shelves. We had brought a lunch with us, so we had so stumble upstairs with our hands full of snacks. Sunshine also had the most crowded lodge, although we ate right at 12:30pm, so it might have been our timing (we are earlier or later at the other resorts).

20220228_143113

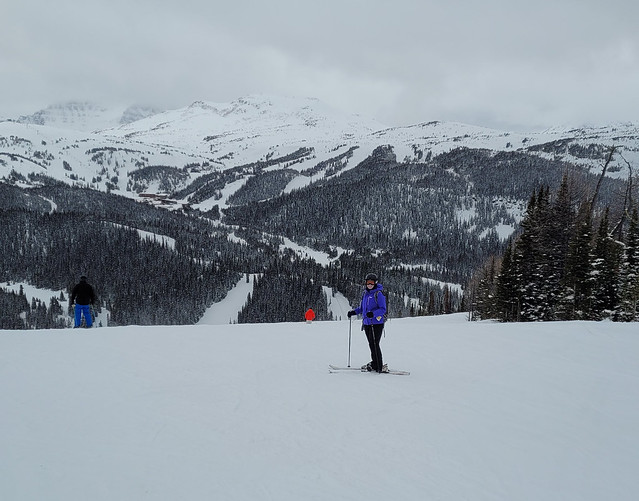
In the afternoon we adventured over to the Mount Standish chair, which is similar to Wawa in that it’s a bit shorter. The difference is that Standish kicks you out into more alpine-like terrain, with wide open skiing and some pretty awesome views! We did a few runs there before heading back over to the Divide chair for a few more runs. We’d been playing it pretty safe in the morning, doing mostly blue runs and a few blacks, but we got a bit more adventurous in the afternoon and tried out some more blacks. In general, I found most of the black runs to be within my skill level, we would just be cautious about whether they had big moguls on them or not. The mogul-free runs were no problem, but some of them have pretty well defined moguls, so we generally tried to avoid those on longer runs, but did do a few short mogul runs.

At this point Emily was getting pretty tired and we still wanted to check out Goat’s Eye Mountain, so we decided to make our way in that direction. Like I said, Sunshine is really big and Goat’s Eye is a bit separated from most of the other lifts. However there are a lot of green runs nestled at the base of Goat, so if you’re a beginner, I recommend checking out the Jack Rabbit, Wolverine, and Strawberry Chairs, which sadly we didn’t have enough time to explore.

20220228_142654

Goat’s Eye Mountain is definitely an experience on it’s own and felt quite different than the rest of the resort. It definitely has some more advanced skiing, but I found it did have more runs than I thought that I was pretty comfortable doing. We were only planning to do one run to say we did it, but since there was more intermediate terrain than expected, I ended up going back for a couple extra runs by myself (Emily was tired and just did one). My take-away would be to play it safe at the top of the mountain, which is alpine and very exposed (but excellent views) and get a little more adventurous further down where most of the runs are a bit easier.

We thought we were going to have to take the gondola back down to the parking lot, but discovered there is one run that goes all the way to the bottom called Banff Avenue. I got some serious deja vu on this run though because I had hiked the whole 7kms with Brandon last summer. Usually in the summer you can still take the gondola up to the top and Banff Avenue functions as a service road, but last summer the gondola was closed and we had to hike the entire thing. I can confirm, it’s a lot more fun to ski down!

20220228_143045

So overall we had a great time at Sunshine Village! We skied on a Monday, so it wasn’t too busy and we never had to wait longer than a minute or two to get on the lift. Overall, I think Sunshine Village was my favourite of the three resorts we visited, but it could be related to the conditions (namely the powder). That said, I think it would be even more fun on a sunny day, so I think it might be the terrain that I liked. Plus it’s very large and there’s a lot to explore – I would have loved to go back for a second day. The only thing I will caution is that I can’t see Sunshine being a favourite for snowboarders. There are several flatter sections through the resort and I could see it being a bit frustrating as a boarder. But as a skier I had a lot of fun!

sunshine village map