Last year I had my first experience with snow camping. Carolyn and I spent a night outside in -10 degrees celsius to test out skills and our gear. We ended up having a lot of fun and knew we wanted to try something a little more adventurous this year. Elfin Lakes is a really popular place for snowshoeing because there’s a heated hut located at the end, so people snowshoe in and stay overnight in the hut. We thought this was a good place to try for our second trip because we’d still have the hut nearby in the event that we got really cold in the middle of the night.
This year our friend Brandon joined us, who also has a great love of the outdoors and had conveniently just purchased a 3-person winter tent. We also improved on some of our gear; my parents gifted me a proper winter sleeping pad for Christmas and Carolyn bought a ton a merino wool layers to help keep warm and a new down jacket. However, we were definitely put to the test this year because the weekend that we went happened to coincide with the polar vortex sending all the really cold air across Canada and it was calling for -20 degrees celsius the night we went.
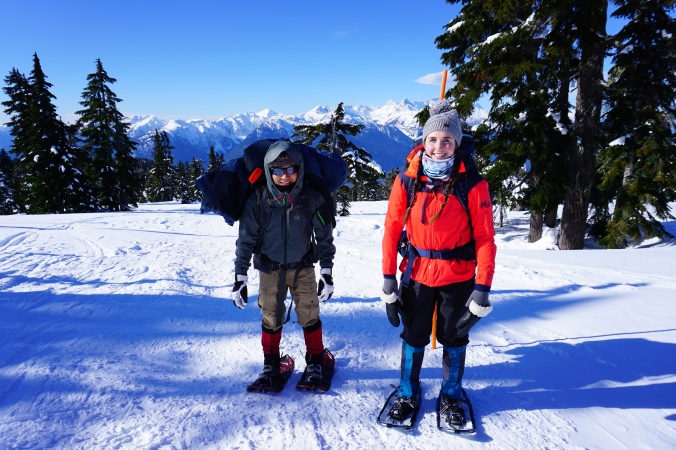
I was tracking the weather all week leading up to the trip and I was super apprehensive about it. We survived last year, but we’d definitely been on the threshold of almost cold and I was worried about adding an extra -10 degrees to the temperature. Carolyn was pretty confident though and it was calling for sun and clear skies despite the freezing temperature, so I was never able to build up the desire to actually call the trip off. We made winter camping blankets this year to add some more warmth to our bags and we packed a lot smarter, but I lost my nerve at the last minute and ending up stuffing two sleeping bags into my pack instead of my liner and blanket. I was only really able to do this though because my new sleeping pad is so small and Brandon was carrying the tent, so I had a bit of extra space.
There are mixed reviews on doubling up on sleeping bags, so you do have to be careful about it. The sleeping bag on the outside should be a bit bigger than the one of the inside and it’s better to avoid down sleeping bags because if you compress them inside each other, they lose their “loft” and won’t keep you as warm. Fortunately, my bags were both synthetic and the second one actually belongs to my Seth, so it was bigger than mine and it worked really well nesting them together.
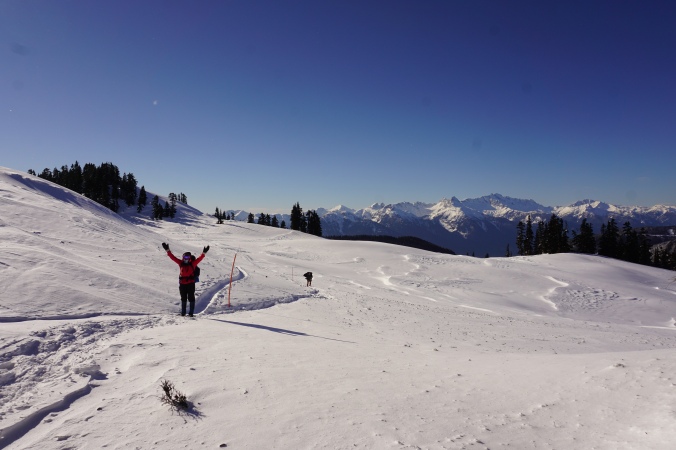
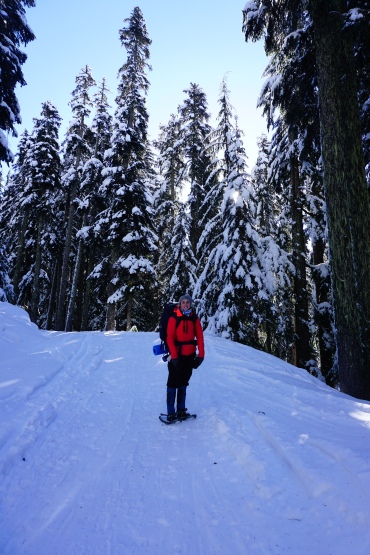
Anyways, enough about gear. You can always spot a camping enthusiast because they just love talking about gear. This was my third time hiking up to Elfin Lakes, so I’m really familiar with the trail, but it was my first time doing it in winter and in snowshoes. It’s not a difficult trail, as a day hike I can power through it in a few hours, but it is 11km to the lakes, so it can be a bit lengthy. The first 5kms are pretty straight forward, you just hike up an old forestry road until you reach the Heather Hut. I knew Elfin Lakes was a popular winter trail, but I was shocked by how many people were on the trail on a freezing saturday morning. It’s pretty easily accessible as it’s located just out of Squamish and is plowed most of the way because there are homes located along the road. Word of warning though, chains are required for the last 2km stretch and if you don’t have them the ranger will kindly ask you to park your car there and walk the extra 2km.
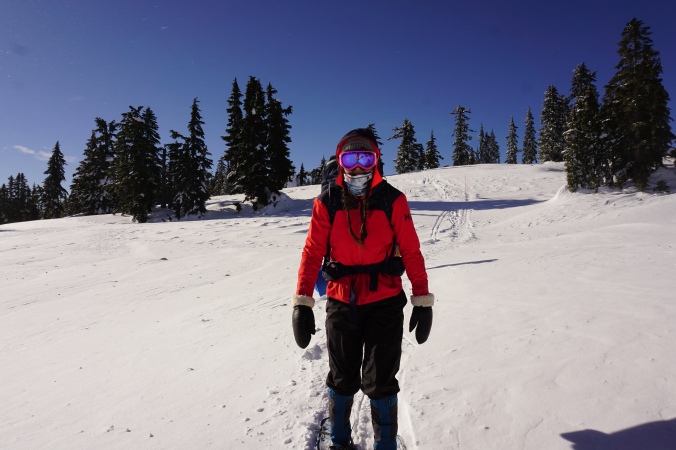
But it turns out the Heather Hut area is extremely popular among backcountry skiers. Once you reach the hut, the terrain opens right up and there’s a large hill to walk up to get to the ridge. I’m no expert, but it seemed like a lot of day skiers were just hiking up the ridge and skiing down through the powder, creating their own little human-powered ski lift and ski hill. The Heather Hut was also being used a lunch spot for pretty much everyone on the mountain, so it was hopping and we pretty much scarfed down our sandwiches and moved on.
The trail gets a lot more interesting after the Heather Hut. After the hut, the winter trail diverges from the summer trail and takes a slightly different route to the lake. Even though it was my third time up there, it felt like a totally different trail in the winter. You start by climbing up a pretty large hill, but then you hit the ridge and its undulating slopes the rest of the way. We were thrilled when we finally reached the ridge because it was a perfectly sunny and cloudless day, but it was also very windy and we really got beat on along the ridge.
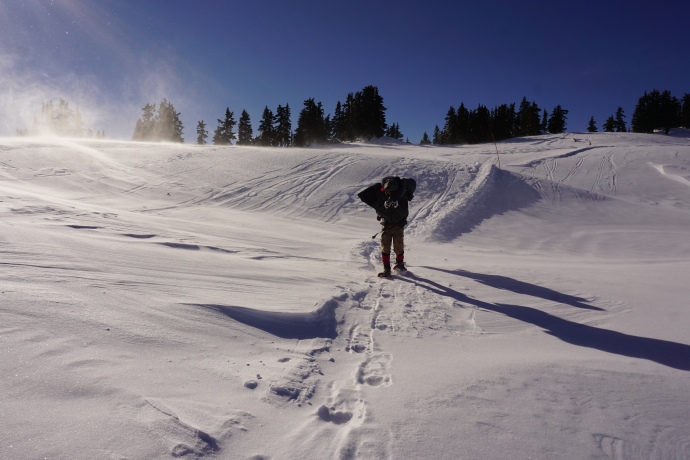
It wasn’t snowing at all, but it was so windy along the ridge it felt like it was because the wind picked up any loose powder and blew it all across the ridge. It was rough going. The biggest mistake I made was that I only brought sunglasses, not my ski goggles, and I really wished I had the goggles. Carolyn had hers and she had a much easier time crossing the ridge than me and Brandon. So that was definitely a lesson learned for next time.
The trail was really interesting along the ridge though because, while you could see the reflective trail marker poles, you couldn’t see any discernible path through the snow. Usually the path becomes very obvious and beaten down with so many snowshoers using it, but because of the wind, it was blowing snow across the trail constantly hiding it. I had a brought a pole with me, which was extremely useful, because even though the snow filled in the path, you could still tell when you were on it because the snow was all compacted underneath. However if you stepped off the path at all, you would quickly be about knee deep in powder. So I went first along most of the ridge and used my pole to keep testing where the path went.
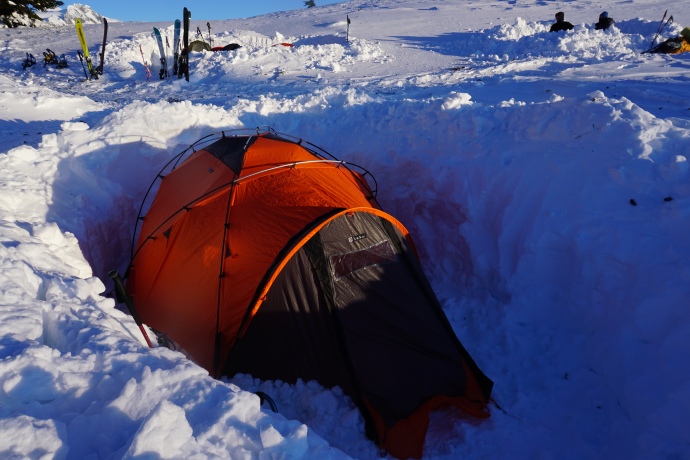
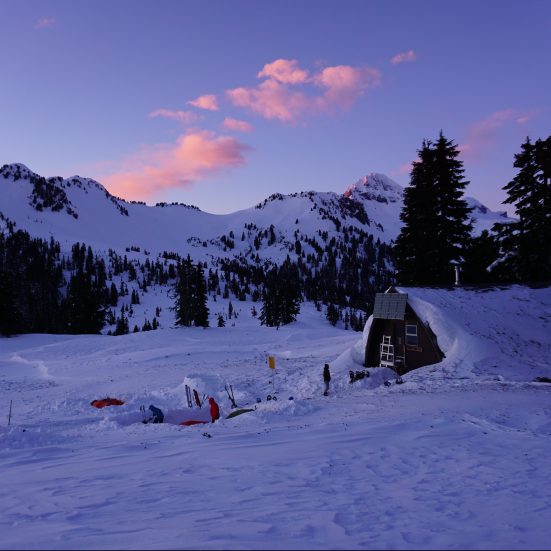
We made really good time though and did the 11km route in about 4 hours, including lunch, arriving at the hut around 2pm. The hut is heated and we didn’t want to warm up right away just to have to go back out in the cold, so we immediately started working on our campsite. It was hard to find a good sheltered place to set up camp with the wind blowing, so we mostly had to rely on the walls of our hole to protect us. We dug down to almost the height of our tent and then set it up in the hole. It’s usually not necessary to peg tents in BC because we rarely get wind, but we definitely had to peg it on this trip and piled some snow up around the edges to weigh it down. The key with pegging tents in the winter is to have rope attached to all of the pegs because otherwise it will be very hard to retrieve them. Once the snow hardens and freezes, it’s really hard to get the pegs out and having rope attached to them will make it a lot easier.
We’d been planning to more or less ignore the hut, but it was so windy and we were pretty beat, so we decided to abandon the snow kitchen idea for the trip. I do think this was the right idea because it was just so cold and it allowed up to warm up properly before bed, which I think really helped in us staying warm throughout the night.
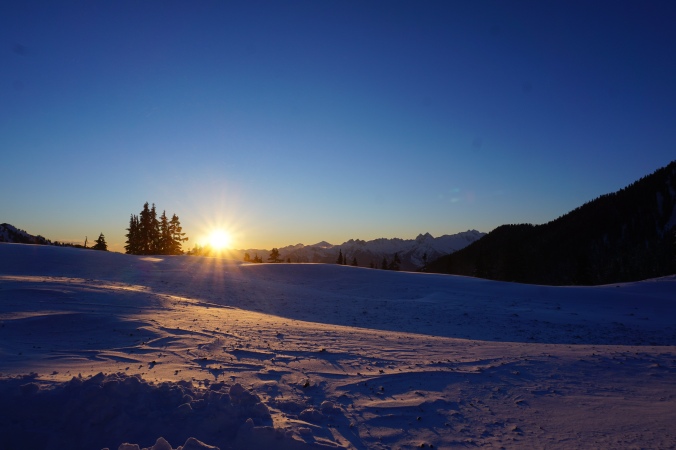
We finished our campsite around 4pm and headed into the hut to start melting snow and making supper. I think we were definitely better at melting snow this time around and we just heated the snow as we melted it and then boiled it all at the end. One of our nighttime tricks to keep warm is filling a nalgene bottle with hot water to take into your sleeping bag with you. It works like a charm! I purchased an insulator for my bottle as well and it really helped to lengthen the life of my hot water bottle and keep my drinking water from freezing (a real challenge in -20 degree temperatures! Leave your water bladders at home for winter camping trips, they will freeze and be useless to you. My favourite piece of gear for winter camping though is my thermos. I just bought a $20 standard “thermos” brand thermos at MEC last year and it is the most impressive thing ever! I filled it with boiling water before bed, added a teabag in the morning, and it was still hot to drink by lunch the next day!! So impressive, would highly recommend because drinking hot water is a great way to warm yourself up and stay hydrated.
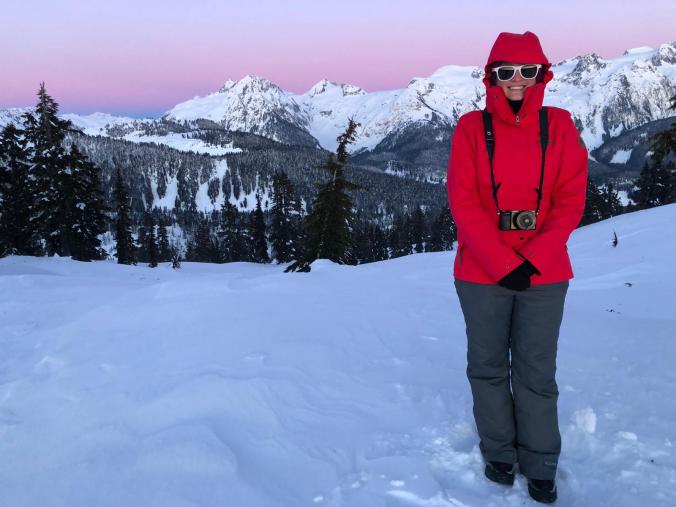
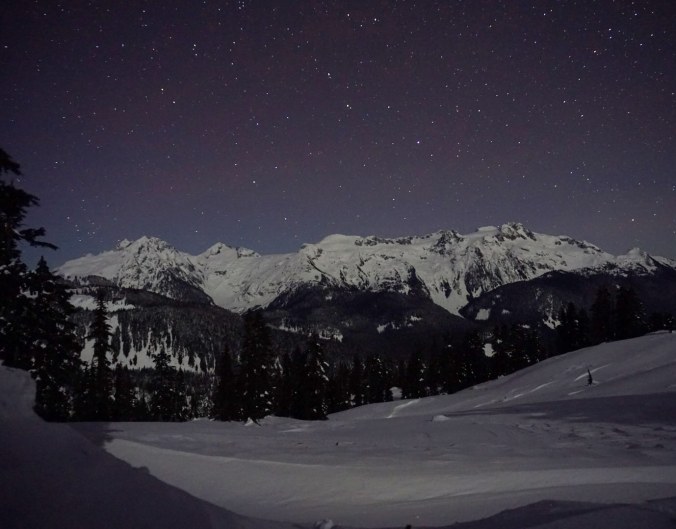
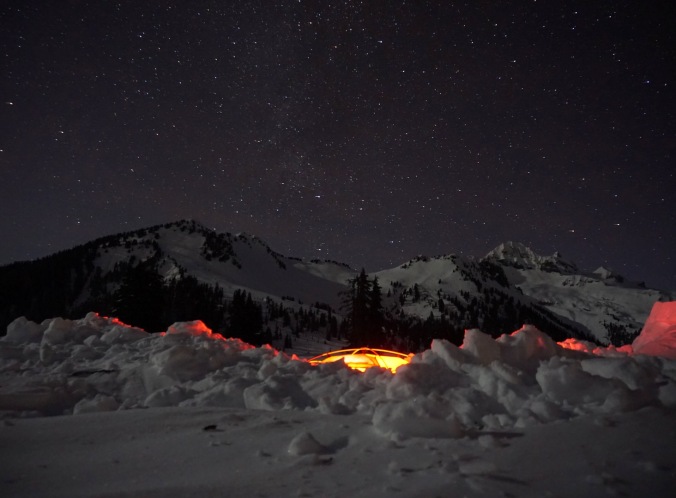
I’ve gotten into night photography in the last year. I’m not great at it, but I learned some the basics and I’ve been having a lot of fun testing out some night shots when I get clear skies. It was calling for clear skies at Elfin Lakes while we were there, but I really didn’t think I’d get any shots because it would be too cold and I wouldn’t want to get out of bed in the middle of the night. But the wonderful thing about night photography in the winter is that you don’t have to wait until 2 in the morning for it to get fully dark! We watched a beautiful sunset over the mountains before supper, loving the pink alpen glow, and then by the time we ate and melted our snow, it was fully dark with the stars out by 8pm! Because I was toasty warm from hanging out in the hut, I spent about a half hour outside trying to get a few night shots before going to bed. I think the next thing I need to invest in is a lightweight tripod though, because that was my biggest struggle with night shooting. You need to open up the shutter for a long time to get night shots, so you cant hold the camera in your hand. I rested mine on my pot on top of the snow, which actually worked a lot better than you’d think, but a tripod would go a long way in getting the angles and perspectives I wanted.
Anyways, I ended up having a lot of fun and thanks to the hut, we were all nice and toasty warm when we finally crawled into the tent. I’m always learning on these trips and our big take-away from this trip was that merino wool is king. In the summer, I mostly wear tech tees and always change out of my sweaty shirt when I get to camp to prevent myself from getting cold. That’s a lot harder to do when you’re snow camping because you don’t want to basically have to get naked in the freezing cold to change out your sweaty layers. The better option is to basically just wear a base layer you never have to change out of (ie. wool). Wool keeps you warm, even when wet, so it really doesn’t make a really big difference to your ability to stay warm. I did not change my base layer on this trip, except to remove my bra to go to sleep. Carolyn and I decided that merino wool bras might have to be our next investment because while our base layer was wool, our bras were not and they didn’t stay as warm. (TMI? It’s so practical though, so I’m sharing anyways!)
We were smart about going to sleep this time around as well. We were warm from staying in the hut, but if there hadn’t been a heated hut, we’d be planning to exercise before bed to warm up our cores. I’m not talking exercise enough that you start to sweat, but enough so that your core warms up a little. When you get into bed already warm, you trap all that heat in your sleeping bag with you. Another tip is to take any clothes you plan to wear the next day into your bag with you. Anything not touching you gets cold and it’s no fun putting on freezing clothes in the morning!
We both wore several wool and fleece layers and had planned to sleep in our small down jackets. Carolyn did, but mine actually ended up being overkill with my double sleeping bags, so I never ended up wearing it. My other favourite purchase was that I bought little insulated booties this year! They’re basically just really warm slippers, but I slept with them on inside my bag and put foot warmers in them, and my feet felt like toasty little furnaces! They sell them at MEC for a pretty penny, but I got mine at Costco for $15 and they worked fantastic! I’ve also seen them at Walmart, but they were a little heavier. I’d recommend keeping an eye out for them at Costco.
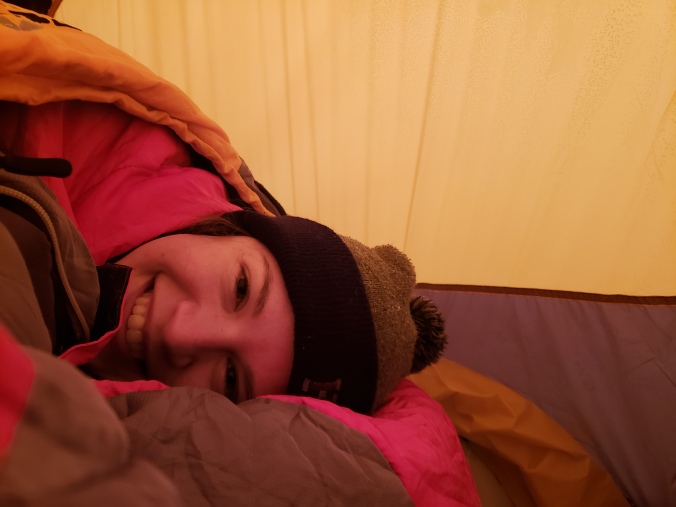
So the double sleeping bags definitely worked for me, as did my new winter mat. Having a proper winter tent made a huge difference too. My face was cold when we first went to bed from being exposed to the cold, but we trapped so much heat in the tent that by the time I woke up to pee in the middle of the night, the tent had heated up enough that my face wasn’t even cold. Another lesson learned though would be that it is worth opening up the vents in a winter tent. There’s no mesh in a 4 season tent and it’s based on a double wall system. Brandon wanted to open the vents to keep the tent from getting condensation on the inside, but me and Carolyn outvoted him because we wanted to keep the inside as toasty as possible. But all our body heat did create condensation on the inside of the tent, which then froze and would fall down onto us as little ice flakes whenever we would move around in the tent. It also made us need to be a lot more careful about accidentally brushing the sides of the tent, so next time we will open the vent.
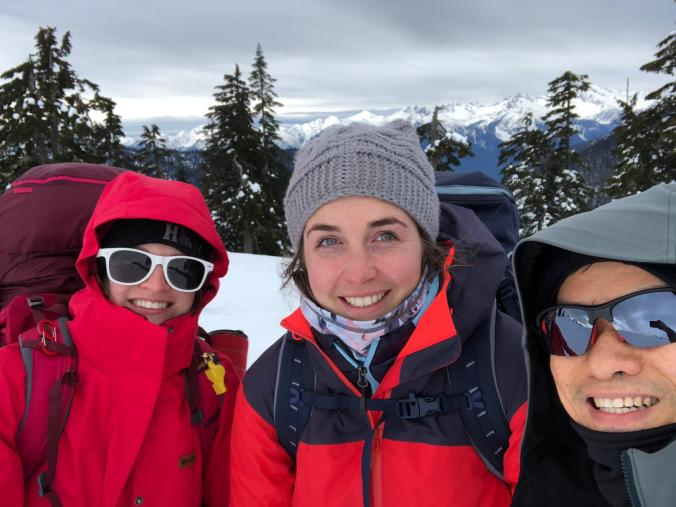
The one benefit to camping in such cold temperatures though is that even though snow gets everywhere, it never gets anything wet. I’m used to the wet snow in Vancouver where if you get it on your mittens, it gets everything wet. But the snow was so fluffy and cold in the mountains that you could totally cover yourself in it and you’d never get wet. It just never melts because the temperatures are too cold. Honestly, my gear would get the wettest in the hut because if you brought any snow inside with you on your gear, the heated hut would cause it to melt and then it would be cold when you went back outside. We brought extra hats, mitts, and wool layers in case anything was compromised, but mostly we didn’t need them because things never really got wet, just cold.
Fortunately the wind died down before we went to bed, so that never really caused us any grief after digging our campsite, and it was a gorgeous cloudless morning when we got up. It started to cloud in a bit on our walk back, but the wind never came back up, so it was a much more enjoyable hike on the way out. It did start to snow just before we reached the Heather Hut and after lunch we all decided to layer up again for the walk down. I always try not to wear too many layers on the way up to avoid sweating too much or into too many layers. Ideally you should be a little cold when you start hiking up. But on the way down I pretty much threw on every layer because I knew I probably wouldn’t be sweating any more and we were almost out anyways.
Considering how apprehensive I’d been about the trip, I’m super glad we went. I had a great time and loved getting all the gorgeous mountain views in Garibaldi Park in the winter time. Now that I’ve done it in every season, I don’t feel a huge desire to go back for a while, but who knows, I still haven’t made it all the way out to Mamquam Lake, so there still might be another Elfin trip in my future. Overall I think we were really smart about this trip and about our contingency planning.
Carolyn and I haven’t yet done the avalanche training course (though we’re both planning to), so we’re very careful about where we choose to go snowshoeing. The avalanche rating when we went was low in the forest and moderate in the alpine. Brandon has done the training, so he did bring a probe and beacon with him on the trip. If you’re thinking about attempting any kind of trip like this, be safe about it and take the proper precautions. Always check the avalanche rating and don’t go anywhere risky without proper training. We all had our ten essentials with us and I registered our trip with AdventureSmart before going and sent the information to our partners with instructions on what to do if we didn’t return by the specified time. The backcountry is awesome, but you have to respect it and always be prepared. Also, always practice leave no trace camping! We have a beautiful wilderness here and we need to protect it.
Pingback: Keyhole Hot Springs Snow Camping Trip | The Road Goes Ever On
Pingback: Day Hiking Elfin Lakes | The Road Goes Ever On
Pingback: Elfin Lakes Girl Guide Trip | The Road Goes Ever On
Pingback: Mamquam Lake Backpacking Trip | The Road Goes Ever On
Pingback: Elfin Lakes Trex Backpacking Trip | The Road Goes Ever On