Let’s start off with a disclaimer – there’s a lot to do in Kootenay National Park – I’ve still only done a fraction of what there is in the park, but after spending a week there, I feel like I got a good idea of what a lot of the attractions are. There’s still lots for me to return and explore, but here’s some of my learnings after 1 week.
Getting There
Kootenay National Park is characterized by Highway 93. It runs through the entirety of the park and it’s from this highway that you access all the attractions. Put simply, you can either enter through BC or through Alberta. If you’re coming from Calgary (as we were), the obvious option is to drive Highway 1 through Banff and then take the exit for Highway 93. If you’re coming from BC, it’s the same distance from Golden to either park entrance, so it all depends on which direction you’d like to drive. You can access the park through Radium, which in my opinion is the nicer direction because that’s the official park entrance and you can get your park pass there. But there’s nothing wrong with entering through Banff National Park. Leave lots of time for your drive either way because there’s so much to see in the park!
Where to Stay
Where to stay depends on what kind of sleeping experience you’re looking for. If you’d like to stay in a hotel, I’d recommend Radium. It’s right on the doorstep of the park and has lots of options for cheaper accommodations. You could also stay in Lake Louise or Banff, but be prepared to shell out a lot more money for these options.
If you’d like to camp, then there will be a lot more options available to you and you’ll be able to stay directly in the park. But you have to be prepared to book sites when they release around March because all of the National Parks are popular and they book up fast. See the next sections for more information on your camping options.
Frontcountry Camping
If you’re new to camping, then frontcountry camping is what you’re looking for. These are drive in sites, so you can store lots of things in your car and they’re a bit easier to get to than backcountry sites. There are 3 frontcountry sites in Kootenay National Park – all can be booked through the Parks Canada reservation site, check early in the year for the date that sites will be released.
Redsteak Campground – This is the largest campground in the park and therefore the easiest to get into. it’s located very close to Radium. It has 242 sites and is usually open from late April to early October.
McLeod Meadows Campground – This site is located in the valley, along the banks of the river in the middle of the park. It has 88 sites and is usually open from early June to early September.
Marble Canyon Campground – Marble Canyon is a large attraction on its own and this site is located in the sub-alpine with nice mountain views. It has 60 sites and is usually open from late June to early September.
Full disclosure, I haven’t actually stayed at any of these sites, but I would like to try for McLeod or Marble one day!
Backcountry Camping
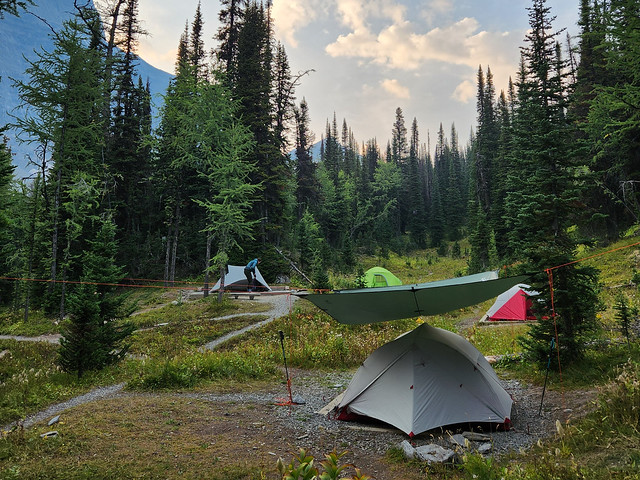
Backcountry camping is my preferred method of camping, but it is a whole different beast than frontcountry. It revolves around hiking and you have to carry everything you need on your back, so you should only attempt backcountry if you’re aiming to complete a hike.
As far as backcountry camping goes, there are limited options in Kootenay. All of these sites are on the Rockwall Trail (a 54km hiking trail), with the exception of Verdant Creek (which is now closed). Though you don’t have to commit to doing the entire Rockwall Trail if you want to visit some of these sites, many have alternative entrances.
Helmet-Ochre Junction Campground – A small campground along Helmet Creek. It’s a 6km walk to the campsite. It’s a good stopping point along the Rockwall Trail or for a 1-nighter if you just want to visit Paint Pots or Helmet Falls. It’s pretty easy hiking to this site, good for beginners.
Helmet Falls Campground – A larger campground located at the base of Helmet Falls. It’s a 14km hike to the site and is most commonly used along the Rockwall Trail, though you could stop here for 1 night if you just want to visit the Falls. Alternatively, you could camp here for 2 nights and do a day hike up through the pass to the start of the Rockwall and back.
Tumbling Creek Campground – A larger campground located where Tumbling Creek meets the Rockwall. It’s a great place to stop on a thru hike of the Rockwall Trail, or you can do a 10km hike on the Tumbling Creek Trail. It’s a fairly gentle climb up to the campground. I haven’t done the Tumbling Creek Trail, but if I was to enter the Rockwall this way, I would plan to stay for 2 nights and day hike along the Rockwall.
Numa Creek Campground – A larger campground located on Numa Creek. It’s a great place to stop on a thru hike of the Rockwall Trail, or you can do a 6.5km hike on the Numa Creek Trail. It’s an easy trail to the campsite, but Tumbling Creek is closer to the Rockwall if you’re planning on day hiking there. As a thru hike, I recommend staying at Numa, but as a day hike, I’d recommend Tumbling.
Floe Lake Campground – The most popular campsite in the park. This campground is located right on beautiful Floe Lake. It’s a 10.5km hike up to Floe Lake with considerable elevation gain. It’s the most challenging hike on the list, but the most rewarding. A perfect end if you’re doing the entire Rockwall Trail.
Verdant Creek Campground – This site was extensively damaged in the 2017 wildfires and is no longer recommended. It was previously used as an alternative access to Egypt Lake in Banff National Park.
Hiking
The Rockwall Trail – One of the biggest attractions in the park. This 54km trail is extremely popular and travels along gorgeous alpine terrain. Recommended as a 3-4 night thru hike.
Stanley Glacier – Another popular attraction in the park, this 11km trail can be done as a day hike and covers a lot of elevation gain. You can hike it on your own, or if you’re a fossil enthusiast, pay for a guided hike with Parks Canada!
Cobb Lakes Trail – A shorter trail on the west side of the park, day hike 5km and back to picturesque Cobb Lake for the day.
Dog Lake Trail – A fairly easy 7km trail that leaves from McLeod Meadows campground, with beautiful views of the surrounding valley.
Simpson River Trail – A flat and easy trail along the Simpson river, customized to your preferred length. The trail continues all the way to Mount Assiniboine if you’d like to hike 12km to Sunrise Creek Campground and continue on further.
Ball Pass Trail – I wouldn’t recommend this trail unless you’re backpacking and continuing on to Sunshine Village, in which case, this beautiful trail covers a lot of elevation gain and kilometres. Stay at the Ball Pass Campground or infamous Egypt Lake.
Arnica Lake – A very scenic trail that hikes down to Viewpoint Lake and then back up to Arnica Lake. It’s 10km in total and is very popular in the Fall when the larches turn yellow. (technically this trail is in Banff, but it’s so close to the border)
Boom Lake – Another trail in Banff, but Boom lake is a scenic 10km trail with moderate elevation gain to a gorgeous lake.
Roadside Attractions
Since I spent most of my time in Kootenay National Park on the Rockwall Trail, I was more keen to explore all the roadside attractions rather than do more hiking. We spent a full day driving the 100km of road between to the two park entrances and there were tons of attractions to keep us busy all day! Starting from Radium, here are my recommendations:
Sinclair Canyon – Towering canyon walls as you enter the park. Stop for some photos and walk along the pedestrian sidewalk through the canyon.
Radium Hot Springs – Gorgeous commercial hot spring and pool just within the park boundary. Perfect in the winter or on a cloudy day. Walkable from Redstreak Campground.
Olive Lake – Short walk to turquoise waters and a fish conservation area located in Sinclair Pass.
Kootenay Valley Viewpoint – Rest stop with panoramic views of the Kootenay Mountains and Kootenay River across the valley.
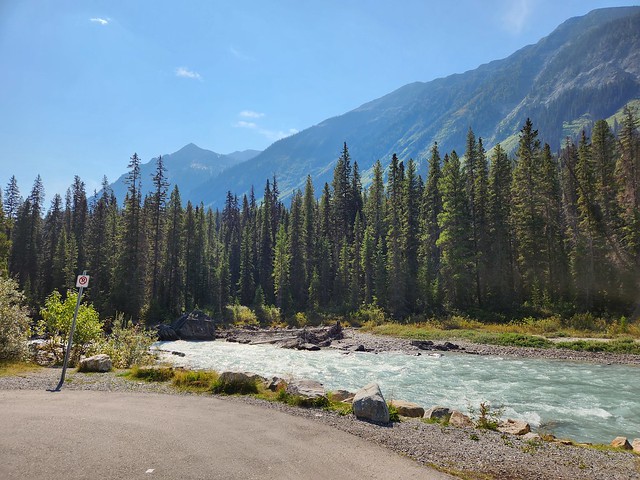
Kootenay River Day Use Area – Rest stop with a few picnic tables and an excellent view of the river.
Numa Falls – Short walk to a bridge under which the rushing Numa Falls are channeled to the Vermillion River.
Paint Pots – 1km walk each way to see the red ochre soil that makes up the traditional paint pots.
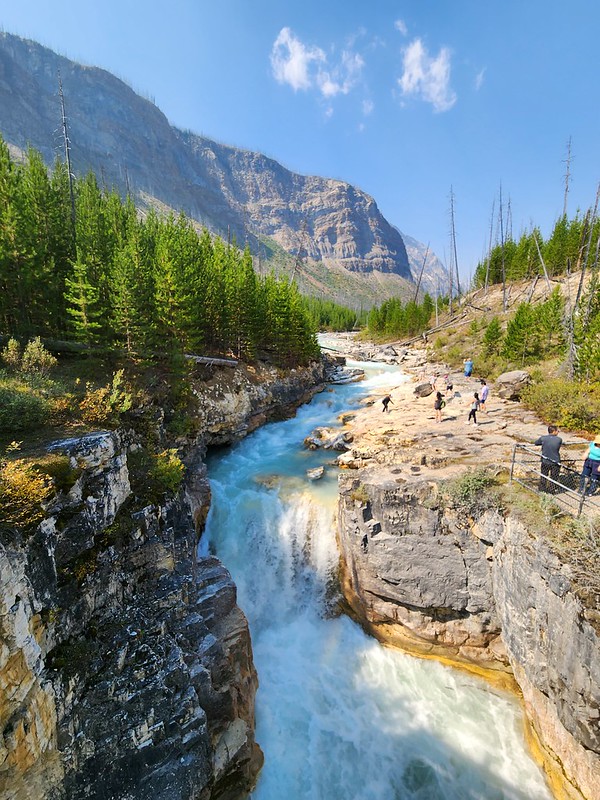
Marble Canyon – Go back in time along the 1.5km loop trail to see how Tokkum Creek has formed the canyon over thousands of years.
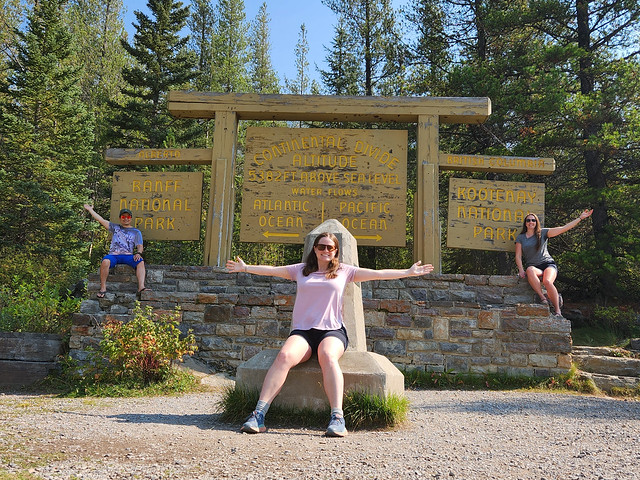
Continental Divide Rest Stop – Photo op where the Rockies collide, separating BC from Alberta, and the flow of water to the Atlantic and Pacific Oceans.
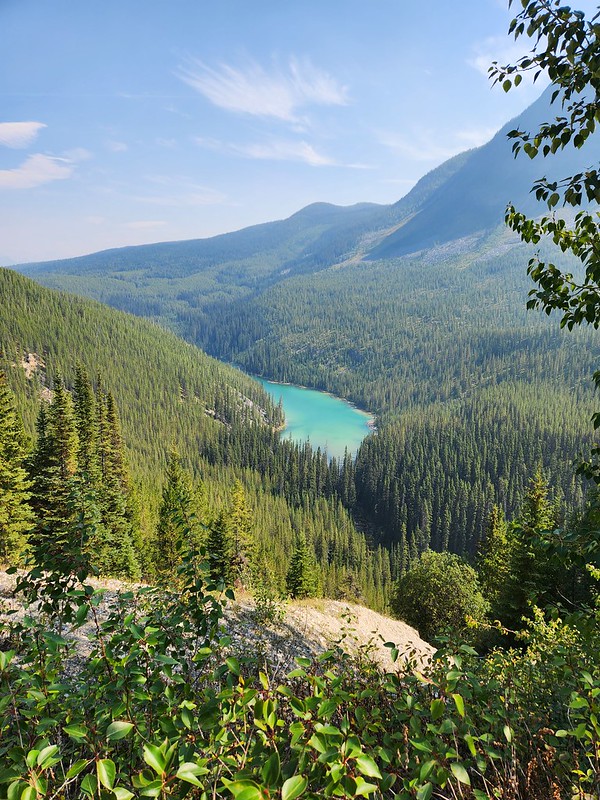
Vista Viewpoint – Technically in Banff National Park, but the last stop along Highway 93 with beautiful views of Arnica Lake.
National Park Pass
Before visiting, make sure you get your park pass either at the entrance in Radium, or when you drive through Banff National Park. You will need it to park everywhere inside the park. It’s $10 per person, per day, or you can get the family pass for the whole year for $145, which is applicable to all National Parks in Canada.
Pingback: Hiking the Iceline Trail | The Road Goes Ever On